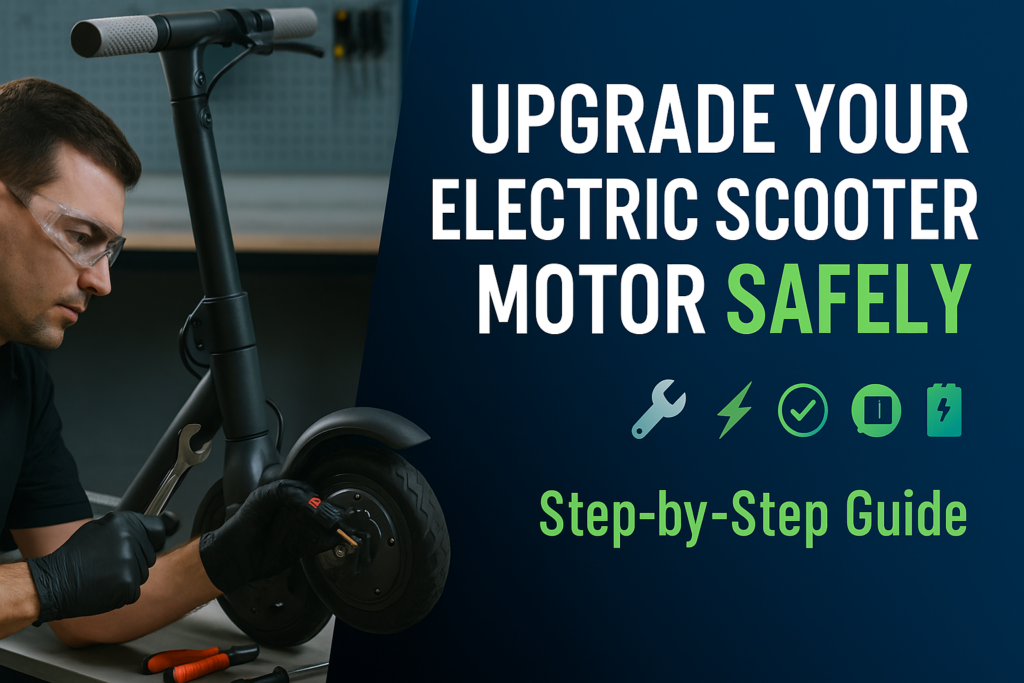
Thinking of giving your electric scooter a performance boost? Whether you’re aiming for more power, faster speeds, or better torque on steep roads, upgrading your motor is one of the smartest EV modifications you can make.
But an EV motor upgrade isn’t just about picking the highest wattage and plugging it in. It requires compatibility checks, installation know-how, and understanding the limits of your battery, controller, and wiring.
In this guide, we’ll walk you through everything you need to know to safely upgrade your electric scooter motor, step-by-step.
Why Upgrade Your Electric Scooter Motor?
Upgrading your motor can lead to:
- Increased top speed
- Better torque on inclines
- Enhanced acceleration
- Support for heavier loads
- Compatibility with larger batteries or better controllers
Know Your Power and Torque Needs
Before buying a motor, match your performance goals with the right specs:
For City Riding and Mild Inclines:
- 350W to 500W motors
- Minimum 45Nm torque
- Ideal for range and casual speed
For Hilly Terrains or Cargo:
- 1000W to 1500W BLDC motors
- 80–100Nm torque
- Works well with 60V/72V batteries
For High Performance:
- 2000W+ motors
- Requires upgraded controller + wiring
- Suitable for enthusiasts or delivery riders
Browse Motor Kits Here:
EV Motor Kits
Compatibility Checklist
Before upgrading, make sure these match:
| Component | Must Match With… |
| Motor | Wheel size, axle type, voltage (48V/60V/72V) |
| Controller | Motor wattage and type (sine/square wave) |
| Battery | Voltage and amp draw |
| Throttle | Controller pin compatibility |
| Frame | Hub motor or mid-drive compatibility |
Also check your Controller options for matching wattage.
Tools You’ll Need
- Allen key set
- Wrench/spanner
- Zip ties
- Screwdriver
- Multimeter (for wire testing)
- Safety gloves & stand
Step-by-Step Installation Guide
Step 1: Preparation
- Turn off the scooter
- Remove battery to avoid shock
- Place scooter on center stand or mount
Use a reliable EV Charger for post-upgrade calibration.
Step 2: Remove Old Motor
- Unscrew the wheel bolts
- Detach the motor from frame or axle
- Disconnect motor cables from controller
Step 3: Install New Motor
- Align the new motor with hub slots or frame
- Slide it in carefully and bolt securely
- Route cables along the chassis neatly
Tip: Don’t overtighten bolts; allow motor some flex room to absorb road shocks.
Step 4: Update the Controller (if needed)
If your new motor requires higher current or different wiring layout, replace the controller.
Choose compatible ones here:
EV Controllers
Step 5: Connect All Wires
- Match motor phase wires (Yellow, Green, Blue) to controller
- Match Hall Sensor wires (usually 5-pin)
- Connect throttle, brake sensors, and power lines
- Use zip ties to secure loose cables
Don’t know the pin layout? Refer to the product sheet or consult the seller on ElectricScootersParts.in.
Step 6: Test the Setup
- Connect the battery and turn the key on
- Check throttle response
- Listen for unusual noises or vibrations
- Test at slow speed first, then on road
Calibration Tips After Motor Upgrade
- Set controller to default current limit first
- Use multimeter to monitor voltage
- Avoid full throttle for the first 5–10 km
- Check battery temperature post-ride
Related Parts to Consider
While upgrading your motor, you may also need to upgrade the following:
| Component | Reason to Upgrade | Shop Now |
| Controller | Required for high-wattage motor | Controllers |
| Battery | Match higher amp draw | EV Batteries |
| Throttle | Pin mismatch or jerky input | Throttle |
| Charger | Faster recharge time | Chargers |
Tips to Upgrade Safely
- Always test motors on a closed road first
- Avoid DIY upgrades if you’re unsure — consult a local EV mechanic
- Ensure the motor is IP-rated for dust and water protection
- Use protective sheaths on wires
Common Mistakes to Avoid
- Using a motor with wrong voltage (e.g., 60V motor on 48V battery)
- Connecting Hall wires incorrectly (can fry the controller)
- Not securing motor axle properly (can damage wheel)
- Skipping the controller upgrade — leads to overheating
Related Blogs for Better Performance
- Affordable EV Controllers for Daily Use
- Choosing the Right Motor Kit for Your EV
- How to Identify a Failing EV Battery
- The Complete Guide to Choosing the Right EV Charger
Explore Recommended Products
CTA: Ready to Upgrade?
Upgrade to a better ride today.
Explore top-rated, budget-friendly motor kits and accessories at ElectricScootersParts.in
FAQs – For Quick Answers & Snippets
Q. Can I upgrade a 250W motor to 1000W directly?
Only if your controller and battery support the new wattage.
Q. Do I need a new throttle after upgrading the motor?
Not always. But it depends on controller pin compatibility.
Q. Will motor upgrade affect battery range?
Yes, powerful motors draw more current, reducing range slightly.
Q. Are plug-and-play motors reliable?
Yes, if bought from a trusted seller and matched correctly.


Very advise you to visit a site that has a lot of information on the topic interests you.
——
https://the.hosting/fr/100tb-dedicated-server
https://www.skillshare.com/en/profile/Skillshare%20Member-/238322087